Windows Server 2022: Create Local User and Add It to Admin Group
How to add different local accounts to your Windows server 2022 and give it admin rights? To create or add new local user account to Windows server 2022, there are several ways which are easy to do. After that, you may need to make it as admin account. So, here I will also show you two common ways to add a new local user account to admin group.
Somebody may ask if they got locked out of their administrator in Windows server 2022, how to add a new local admin account to the locked computer? So, this article also shows you a special way to get back into your Windows server 2022 by creating a local admin account via just a USB flash drive. Please select probable method from the following list.
To create a new local user account in Windows server 2022 (4 Tips):
Tip 1: Add New Local Account to Windows Server 2022 in Server Manager.
Tip 2: Create a New Local Account for Windows Server 2022 by Using “lusrmgr.msc”.
Tip 3: Create Local User for Windows Server 2022 in Control Panel.
Tip 4: Add New Local Account to Windows Server 2022 by Using Command Prompt.
To add a local user account to local admin group in Windows server 2022 (2 Methods):
Method 1: Add Local User Account to Admin Group via Using Control Panel.
Method 2: Add Local User Account to Admin Group in Server Manager.
Directly create a local admin account for Windows server 2022 when forget administrator password:
Special Tip: Create a New Local Admin Account for Windows Server 2022 without Logging in. (This is useful when you are locked out of your server computer. You also can use this to create a domain admin account for domain controller.)
To create a new local user account in Windows server 2022 (4 Tips):
Tip 1: Add New Local Account to Windows Server 2022 in Server Manager.
Firstly, log on to your administrator account in Windows server 2022. (If you don’t have an admin account available in the computer, please jump to the special tip.) Then complete the following steps:
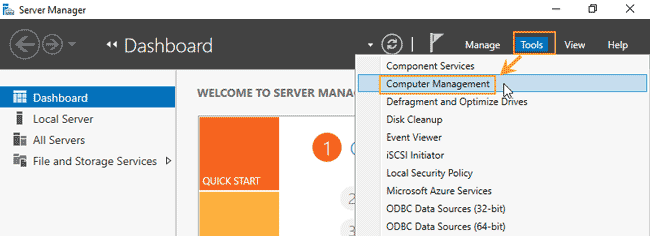
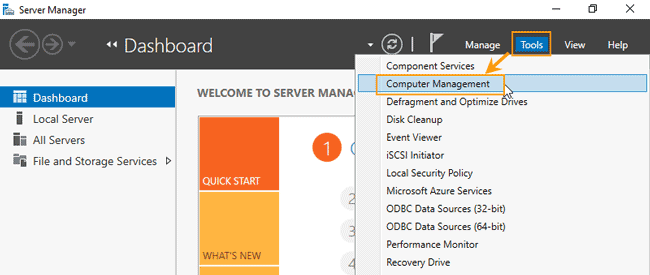
Step 1: Open Server Manager. Select “Tools” from the menu bar. From the pull-down list, select “Computer Management”.
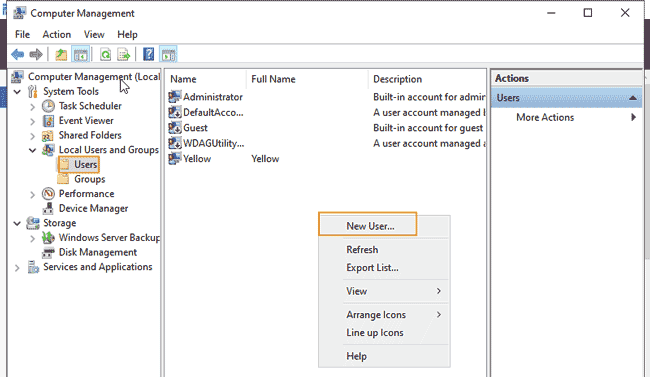
Step 2: Computer Management dialog appears. Select “Local Users and Groups” from left menu, then open “Users” folder. In the user list, right-click on the blank filed and then choose “New User…”.
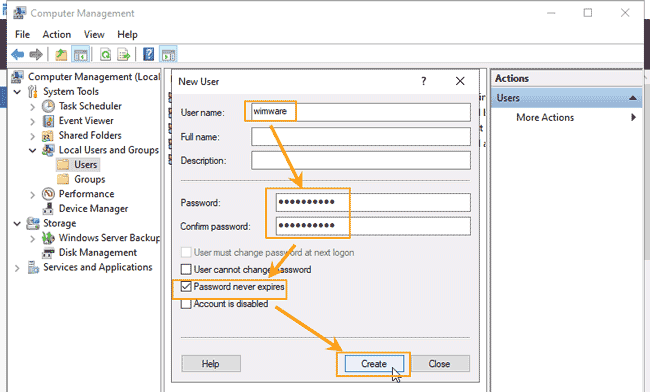
Step 3: Type a new user name you’d like and set a password. Choose “Password never expires”. Then click “Create” button.
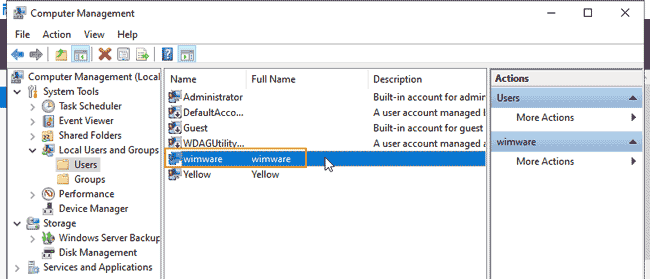
Step 4: The new local user account is new shown in user list. When you log out the current user, the new user will be displayed on the sign-in screen.
Tip 2: Create a New Local Account for Windows Server 2022 by Using “lusrmgr.msc”.
To use “lusrmgr.msc” tool to create new local user account for Windows serve 2022, you also need to log on an admin account first. Then complete the following steps.
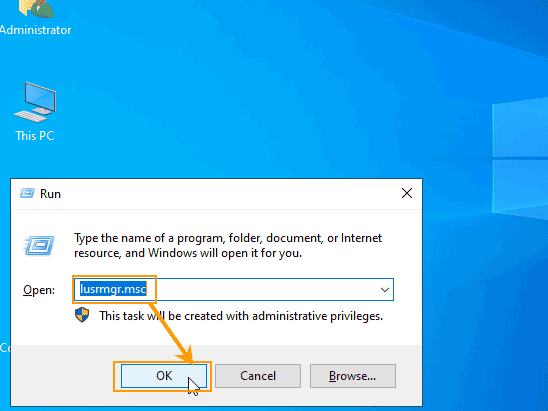
Step 1: Press “Win+R” keys at the same time. Type a tool name you want to open. Here we need to type “lusrmgr.msc”. To open this tool, click “OK” button or directly press Enter key on your keyboard.
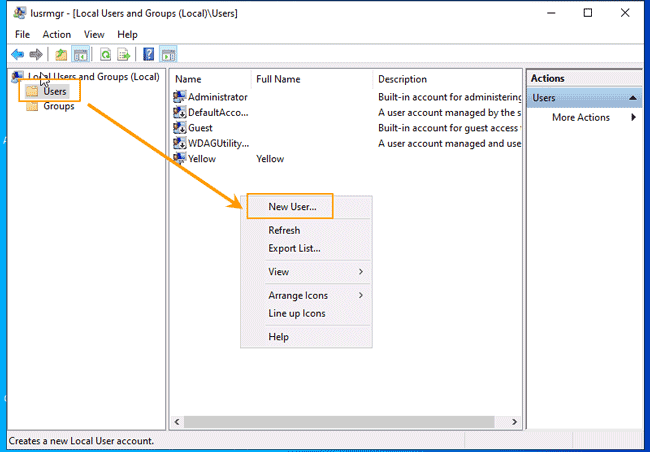
Step 2: “Local Users and Groups” dialog is open. Select “Users” and all local user accounts will be list on the right. On the blank field, open right-click list and choose “New User…”.
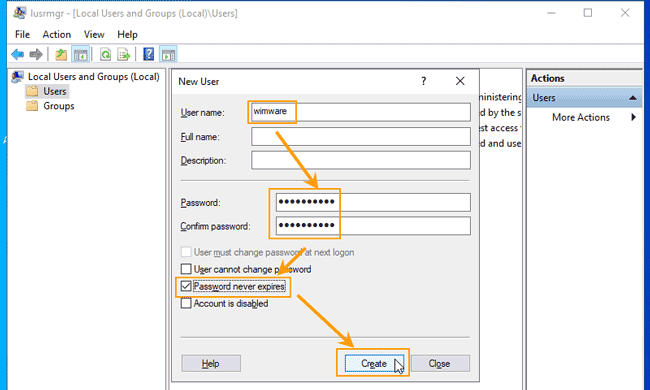
Step 3: In “New User” box, type a new user name and then type a new password twice. Select “Password never expires” and then click “Create”.
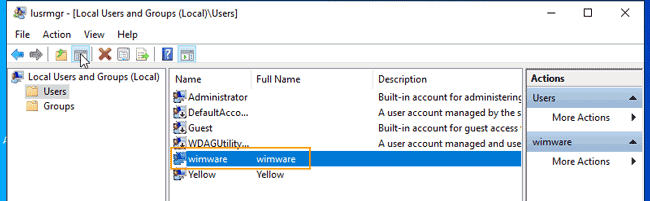
Step 4: That’s all. The new local user account is now displayed in user list.
Tip 3: Create Local User for Windows Server 2022 in Control Panel.
In Windows server 2022 control panel, people can easily create local user account as well. Here is how:
Step 1: Open Windows menu. Type Control Panel in the search box and then select “Control Panel” from the search results.
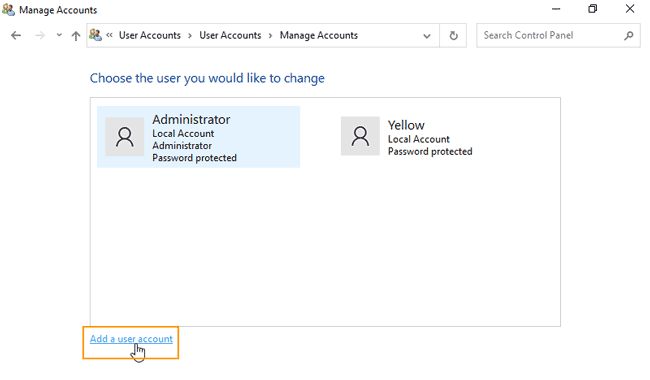
Step 2: Open User Accounts, then Manage Accounts. Under user list, select “Add a user account”.
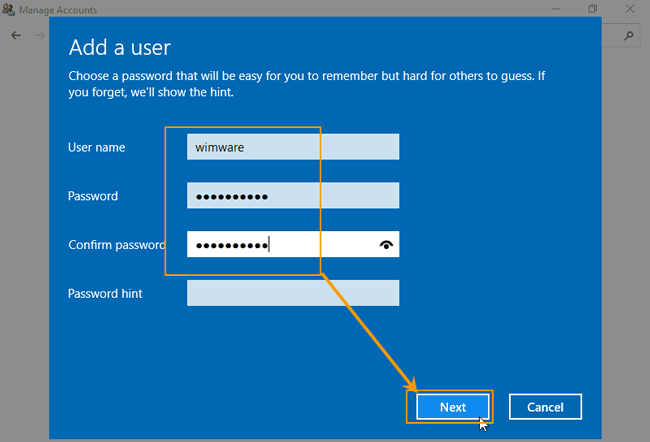
Step 3: Add a user screen appears. Type a new user name, password and confirm password. Then go to next step.
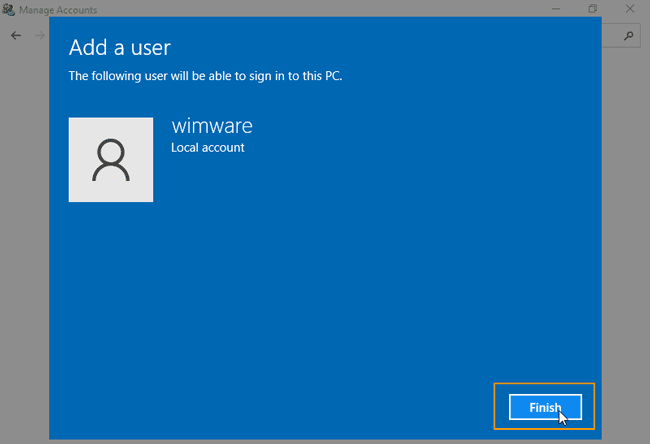
Step 4: Click “Finish”. Then the new user will be able to sign in to this PC.
Tip 4: Add New Local Account to Windows Server 2022 by Using Command Prompt.
What’s more, you can use Command Prompt to instantly add new local user account to Windows server 2022. Only need to complete a very simple command.
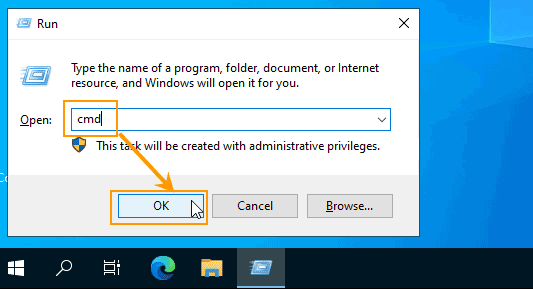
Step 1: Use “Win+R” keys to open run box. Type “cmd” and then press Enter key or just click “OK” button.
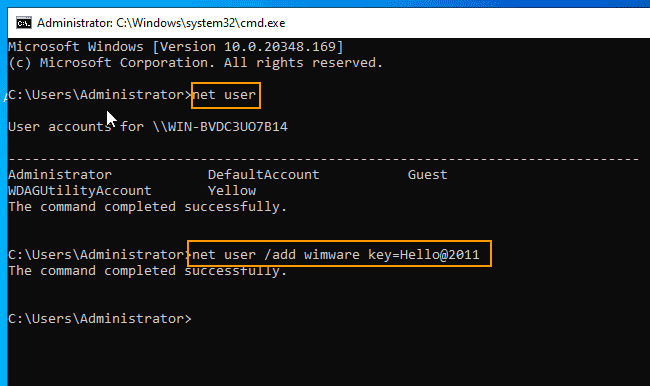
Step 2: Command Prompt is launched as administrator. In the command window, type “net user” and then press Enter key. All local user accounts in this PC will be displayed. You can add a different user to this PC by using the following command. Type “net user /add wimware key=Hello@2011” and then press Enter. “wimware” is the new username and “Hello@2011” is the account’s password. When it shows you the command completed successfully, the new user account is created successfully.
To add a local user account to local admin group in Windows server 2022 (2 Methods):
After creating new local user account, you may need to give it admin rights. It is easy. Here are two simple methods to add a local user account to local admin group in Windows server 2022.
Method 1: Add Local User Account to Admin Group via Using Control Panel.
To add local user to admin group in Windows server 2022, the first easy way is accomplish just in control panel. Here is the step-by-step guide:
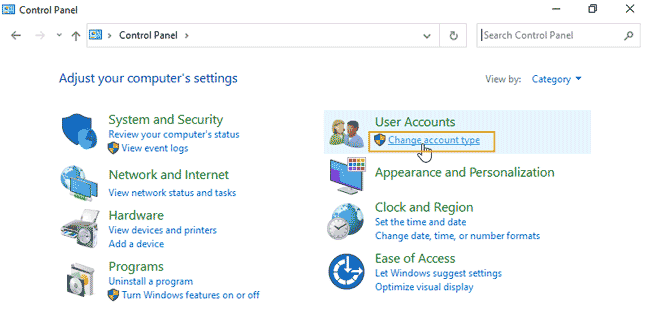
Step 1: Search “Control Panel” and open it. Under “User Accounts”, select “Change account type”. If you didn’t see it, just select “User Accounts” option and you will get it.
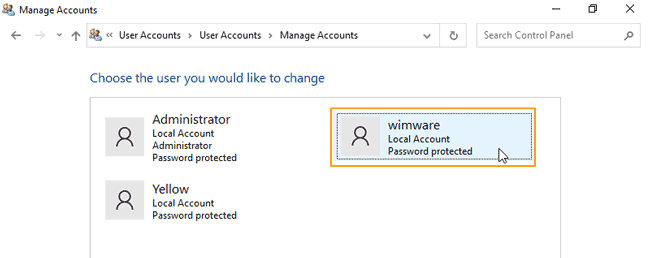
Step 2: From the user list, select your target user account which you want to add it to admin group.
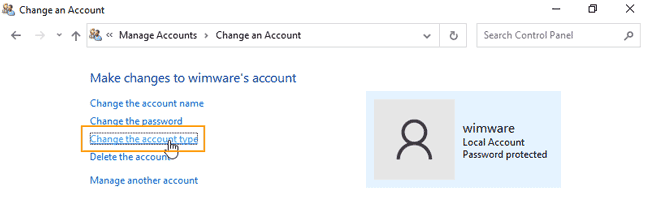
Step 3: Select “Change the account type”.
Step 4: Select “Administrator” and then click “Change Account Type” button.

Method 2: Add Local User Account to Admin Group in Server Manager.
If you are used to manage your user accounts in “Server Manager”, this guide will show you how to add local user account to admin group in Server Manager.
Step 1: Click “Tools” on menu bar and then choose “Computer Management”.
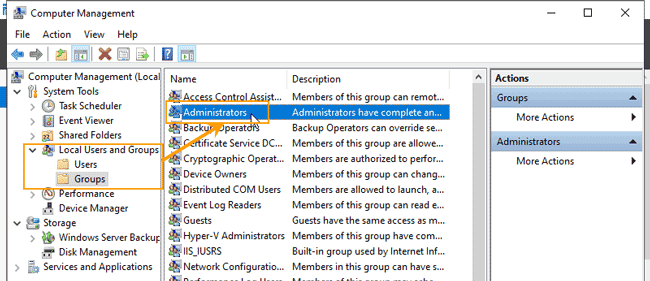
Step 2: In “Computer Management” dialog, select “Local Users and Groups”, then “Groups”. Double-click “Administrators”.
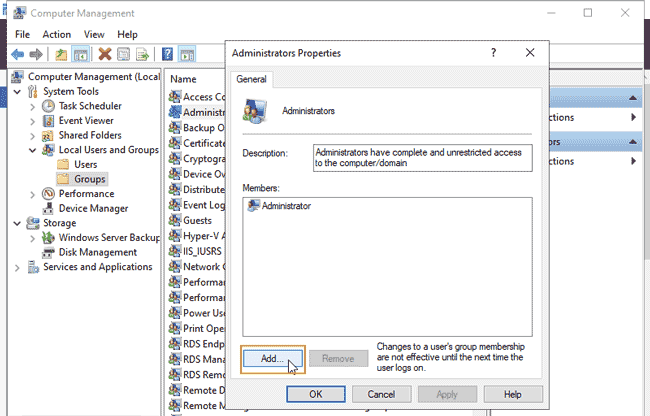
Step 3: In “Administrators Properties”, click “Add…”.
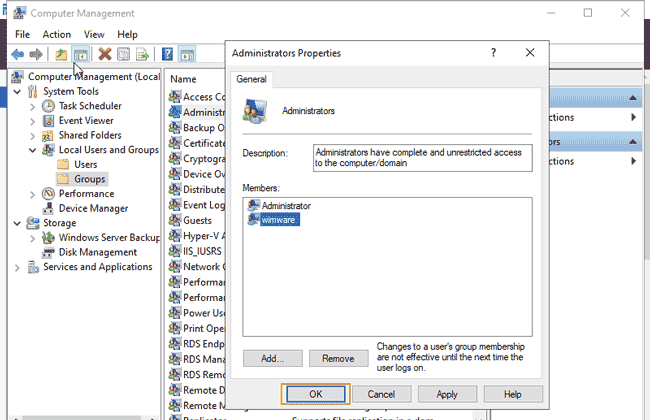
Step 4: Enter the object names to select. (Your target user account name.) Click “OK”.

Step 5: The user account you entered will now be shown in Administrator members list. Just click “OK”.
Special Tip: Create a New Local Admin Account for Windows Server 2022 without Logging in.
From tips mentioned above, you may found that you need an available admin account when you want to create a new one if you were locked out of your computer. To resolve this problem, here I will show you an easy way to directly create a local admin account for Windows server 2022 without logging in or admin rights. All you need a blank USB flash drive. You don’t need to add any exist user to admin group at all.
To accomplish this task, you must firstly download and install Windows Password Rescuer on a working computer and then use it to create a bootable USB flash drive. Then boot your locked computer from the USB drive and then you can easily create local/domain admin account with only a few clicks.
Windows Password Rescuer is an useful Windows password reset tool which can be used to reset forgotten Windows local/domain admin password or create new Windows local/domain admin account without logging in. It works perfectly for any Windows versions such as Windows 11, 10, 8.1, 8, 7, Vista, XP, Windows server 2022, 2019, 2016, 2012/R2, 2008/R2, 2003/R2, 2000, etc. Here is step-by-step guide of creating local admin account for Windows server 2022.
Step 1: Create a bootable USB drive with Windows Password Rescuer.
1. From another computer with internet access, purchase Windows Password Rescuer Advanced full version. Seconds later, you will receive a download link in email you provided. Download and install Windows Password Rescuer full version from the link and then install it on your current computer. (Free download trial version of Windows Password Rescuer Advanced.)
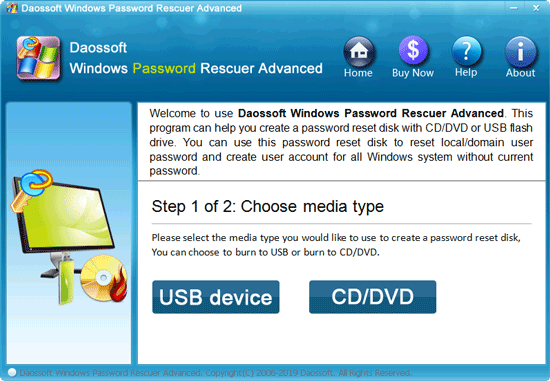
2. Installation is finished. Launch the software. You will see the following interface. Now insert your USB flash drive to the current computer and then choose “USB Device” on Windows Password Rescuer.
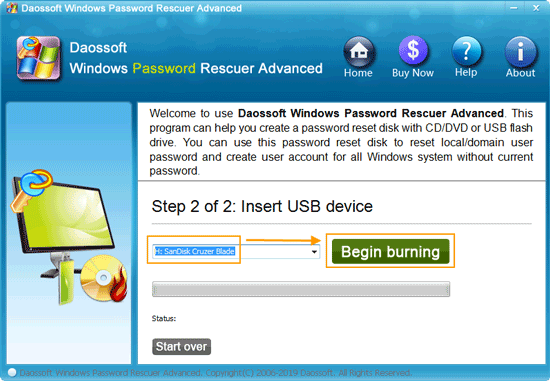
3. Next, pull down the drive list and select the connected USB. Click “Begin Burning” button and confirm it.
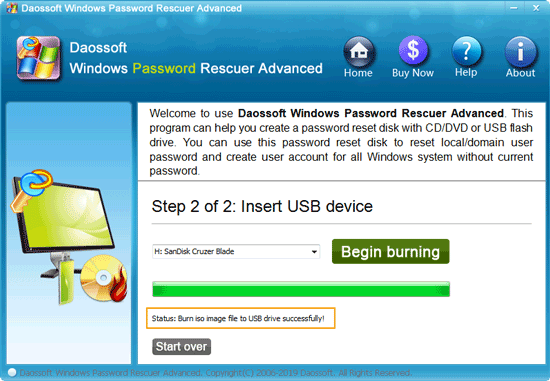
4. The software will automatically create a bootable USB disk for you. This process will take about 2 minutes. When it successfully completes burning, unplug the USB flash drive and close the software.
Step 2: Use the USB flash drive to create Windows admin account on your server computer.
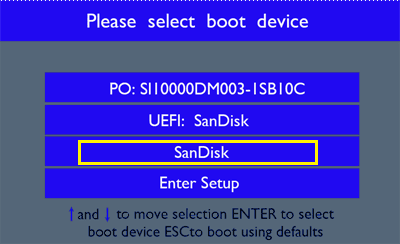
1. Start/Restart your locked computer and then hit F12 repeatedly until the Boot Menu appearing. Press up/down key to choose your USB drive and then press Enter key to continue boot. Wait the compute boots from USB and run Windows Password Rescuer automatically. (Details of setting computer to boot from USB.)
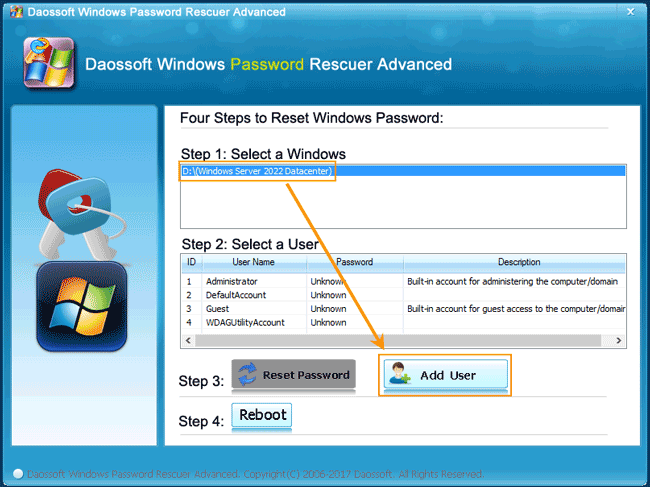
2. When you see the following screenshot, it means that Windows Password Rescuer is working perfectly on the computer. Now select your Windows server 2022 from list and then click “Add user” button.
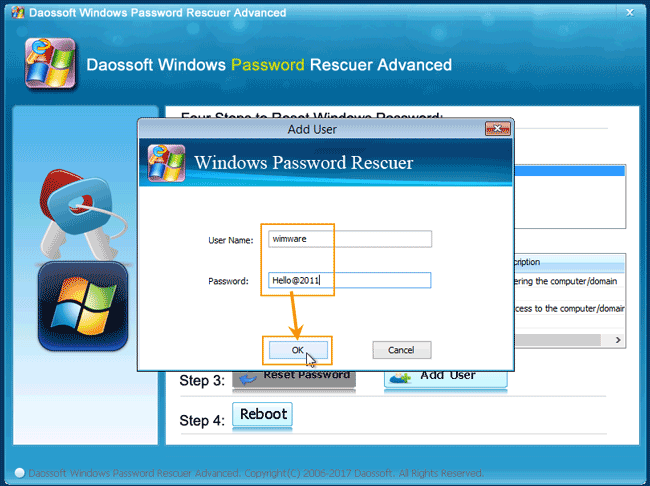
3. On “Add User” dialog, type a new user name and password and then click “OK”.
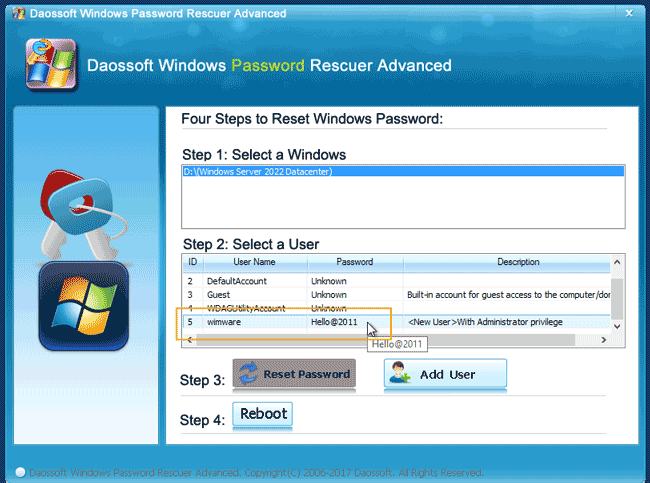
4. New user account with admin rights will be shown in user list.
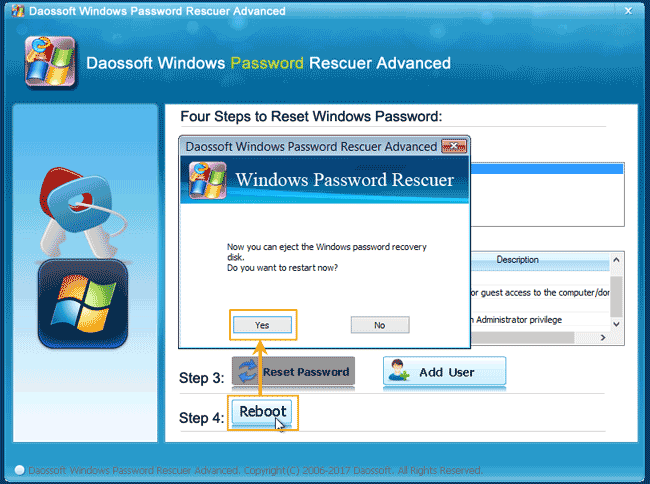
5. Now click “Reboot” button. When a confirm dialog pops up, unplug your USB and then click “Yes”.
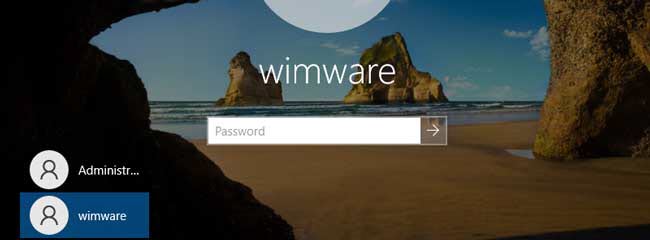
6. Wait the computer restarts and load Windows. Then you will see the new admin account shown on sign-in screen. Select the user account and sign-in with your password.
Price: $ 45.95